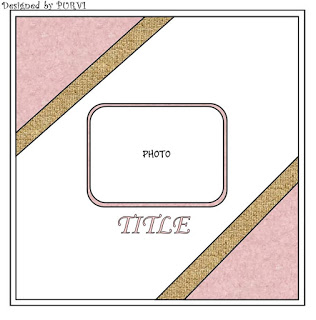
I have been feeling uninspired to scrapbook lately, and haven’t been doing much crafting. When I realized my due date for the StickItDown design team was coming up, I checked out what the sketch was, started the page, and immediately felt my creative mojo coming back! The sketch itself was pretty simple.
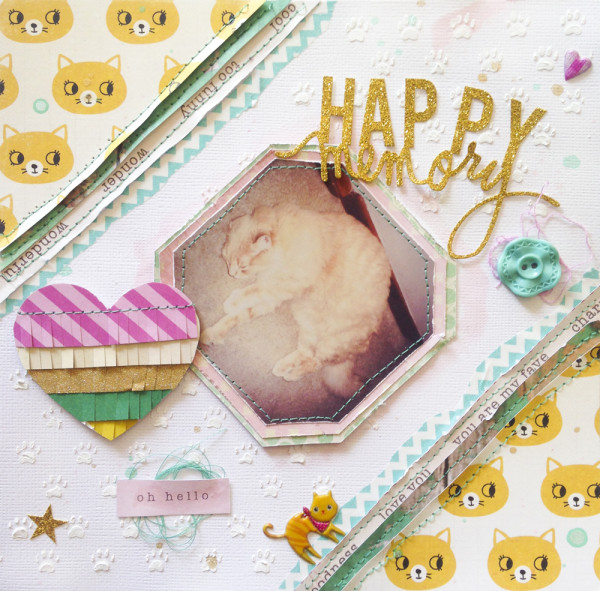
I’ve been wanting to use my cat face paper (Crate Paper Wonder- Curious), so I decided to stick with CP for my page and pulled some from my Flea Market pad for the layers.
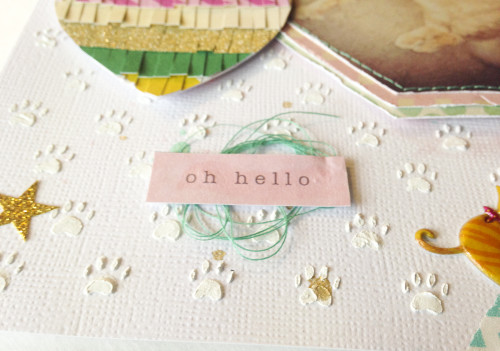
I layered, stitched, and ruffled on both corners. I also had some washi tape that matched the B side of the Curious paper almost exactly, so I tore a strip in half and layered it on both sides.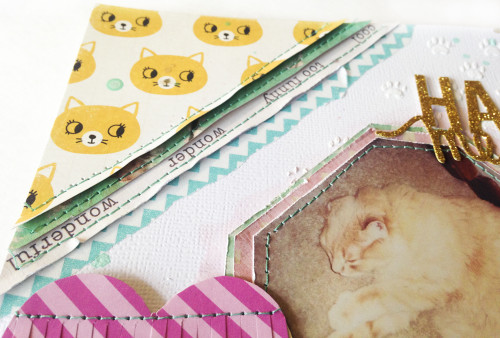
At this point I was stuck and frustrated again… because my sewing machine was not cooperating. I had just spent $25 on a new part after I lost my needle plate somehow at a crop. And every time I made a line of stitching it started clunking and the back of the page would be a huge tangled mess. Turns out, my sewing machine was not broken, I just somehow threaded it wrong. At this point I rage-quit and decided to sleep on it. While I slept, I came up with the idea to make a paw print stencil and use modeling paste to make little white textured paw prints on the background. I also thought of making those Crate Paper fringed hearts that are so popular right now. I absolutely adore the look of them and so I decided to try and make my own!
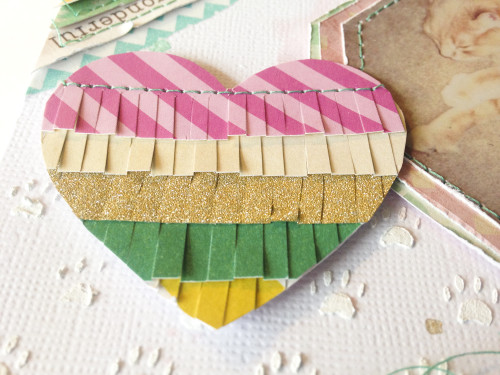
It was surprisingly easy- I cut a heart out with my Silhouette, and then cut strips of Flea Market paper (from my scrap stash!) and also a strip of paper covered in sparkly gold washi tape. I used a tiny pair of scissors to make snips into the strips (now that I think of it, I could have done this with my Silhouette too… Hmmmm). I glued the strips to the heart and trimmed off the excess following the already cut heart. Lastly I added a line of stitches. I ruffled it up, popped it on some foam and that was it!
I also used my Silhouette to make a stencil. I wasn’t sure if I would ever use it again, so I used scrap cardstock instead of stencil material. Looking at how cute it turned out, I should have used my go to stencil material- plastic page dividers from Staples! I also made my own modeling paste from a few drops of white glue, a dollop of gesso and some baby powder. In my experiments with DIY modeling paste, I find it better to make a tiny bit at a time. The first time I made it, I made a huge batch (enough to fit a cup sized tupperware container) and it dried up and got really gross. And wasted all that gesso. But once you get the proportions right (approximately 3:1 gesso/glue, and enough baby powder to make a paste of the consistency you want), its really easy to make just enough for your project. And you can add a bit of paint or ink or glitter to make it a unique paste for your project!
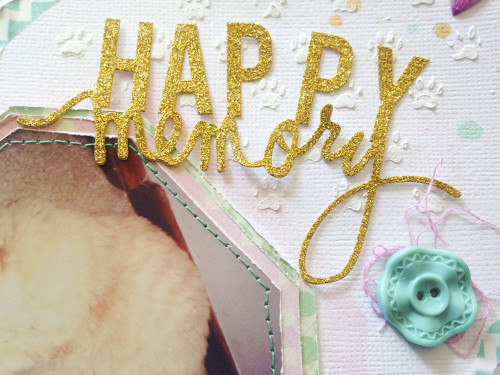
For the photo, I layered some more Flea Market papers underneath. I tried placing it on my background, but found it too… bulky. I considered rounding the corners like in the sketch, but to be honest, I don’t love the look of rounded corners. It works sometimes, but I wanted to do something different. I decided to snip the corners on a diagonal to mimic the sides, and I ended up really loving the effect. I roughed up the edged and added some stitching on my photo. For embellishments, I added a button and a word phrase from the cut apart sheet that came in the Flea Market paper pad, adding tangled thread under both. I also added some puffy stickers from the dollar store. And for my title, I decided to use a word sticker from Heidi Swapp. I angled it a bit as I was sticking it down for some added interest, and I didn’t completely press it down everywhere for a bit of dimension.
I hope this sketch inspires you as much as it has inspired me! If it does, don’t forget to enter it on the linkup for a chance to be featured or to win a guest spot on the blog!
xoxo
-A


2 Responses to Happy Memory SID DT Layout