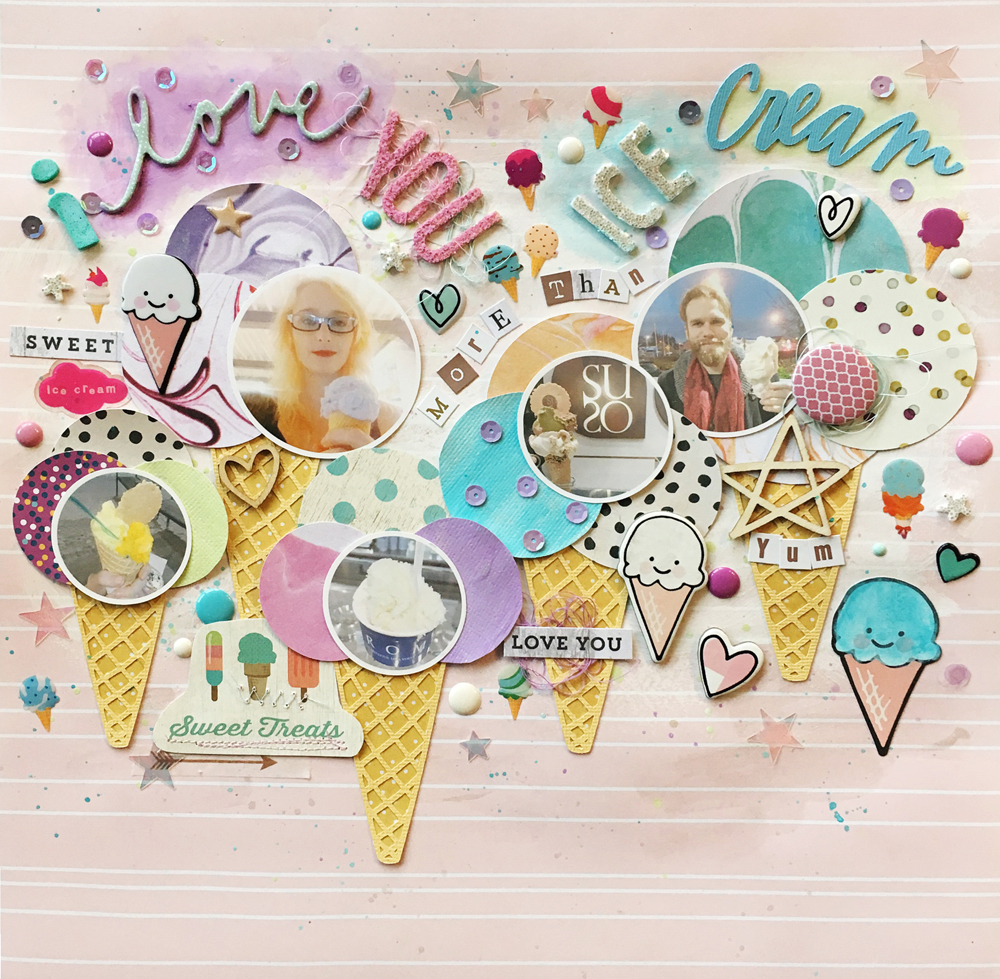
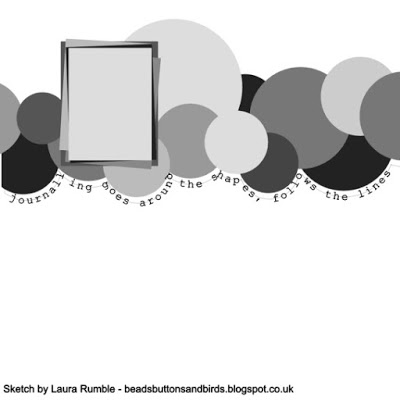
Such a yummy layout :D. I had a lot of fun making it too. The sketch this month at Stick It Down Challenge blog was this one:
I had also recently seen a layout on Pinterest where they used circles coming off of one gelato cone and between the two I thought I’d make a page about ice cream and how my husband and I say “I love you more than ice cream” to each other.
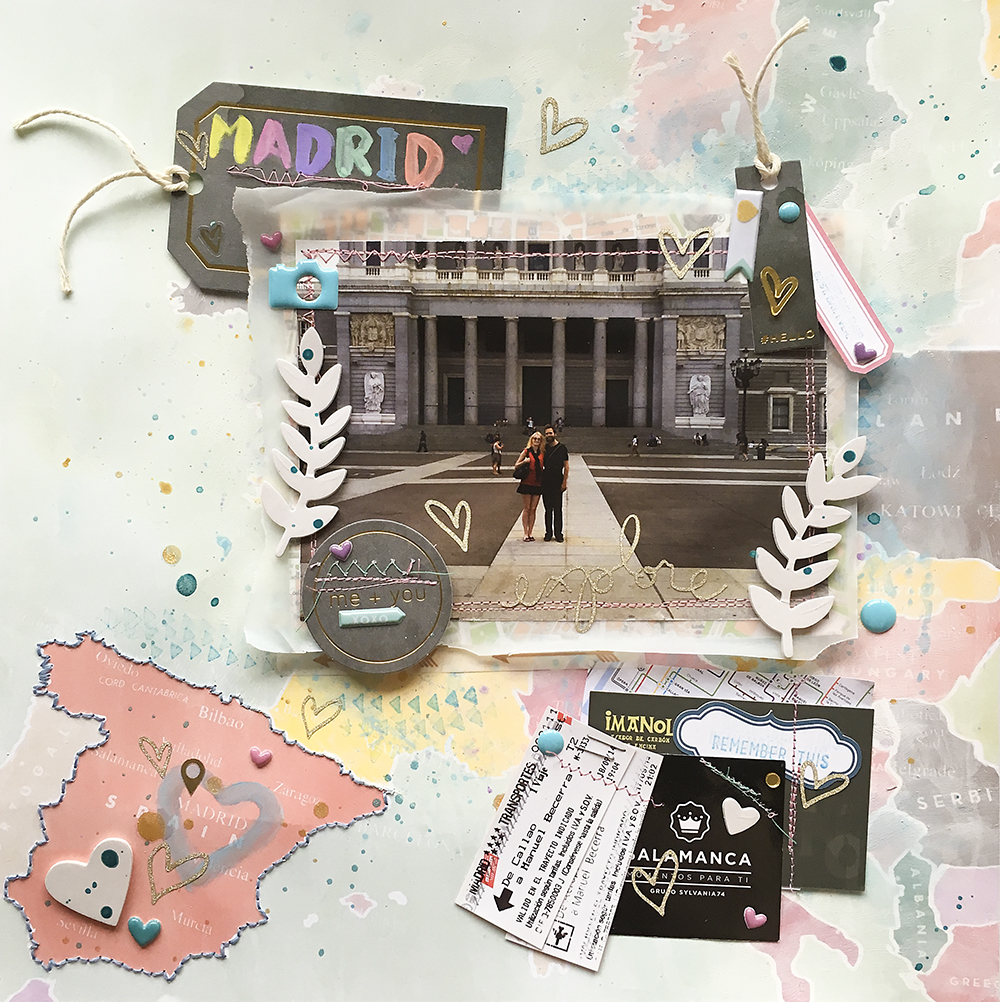
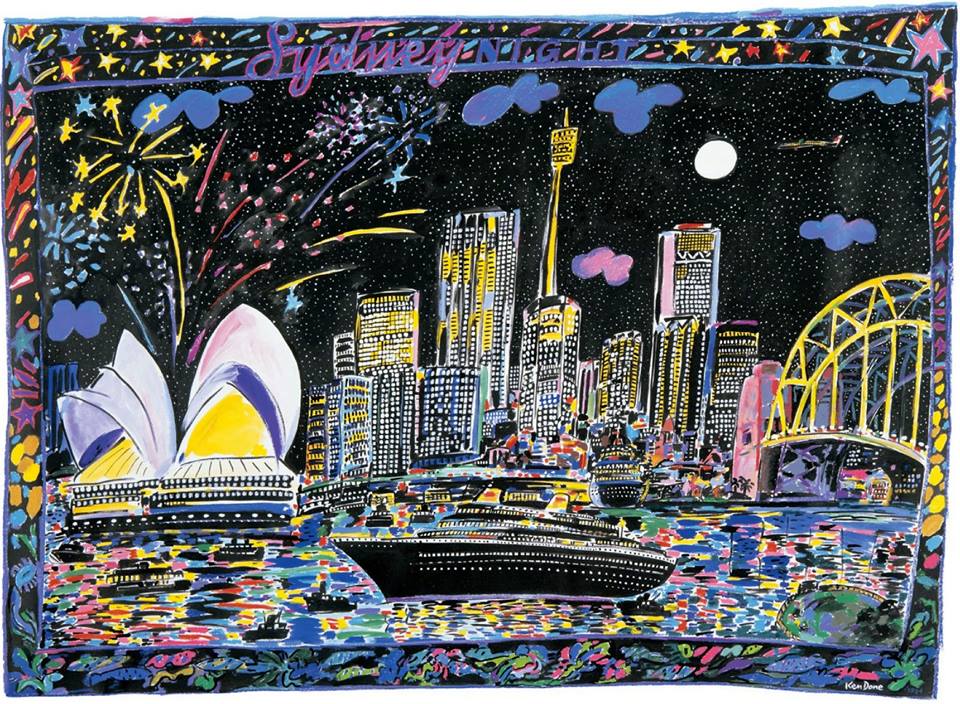
This is the second layout about our visit to Madrid, which is convenient because the challenge over at ARTastic was city theme. The inspiration was this gorgeous artwork by Ken Done – Sydney Night.
The colours in this are amazing and they pop so well against the black. I didn’t want to do too much black on my layout and the art style makes me thing of chalk/pastels so I wanted to use lots of chalky pastel colours on my layout. I also used some chalkboard grey elements.
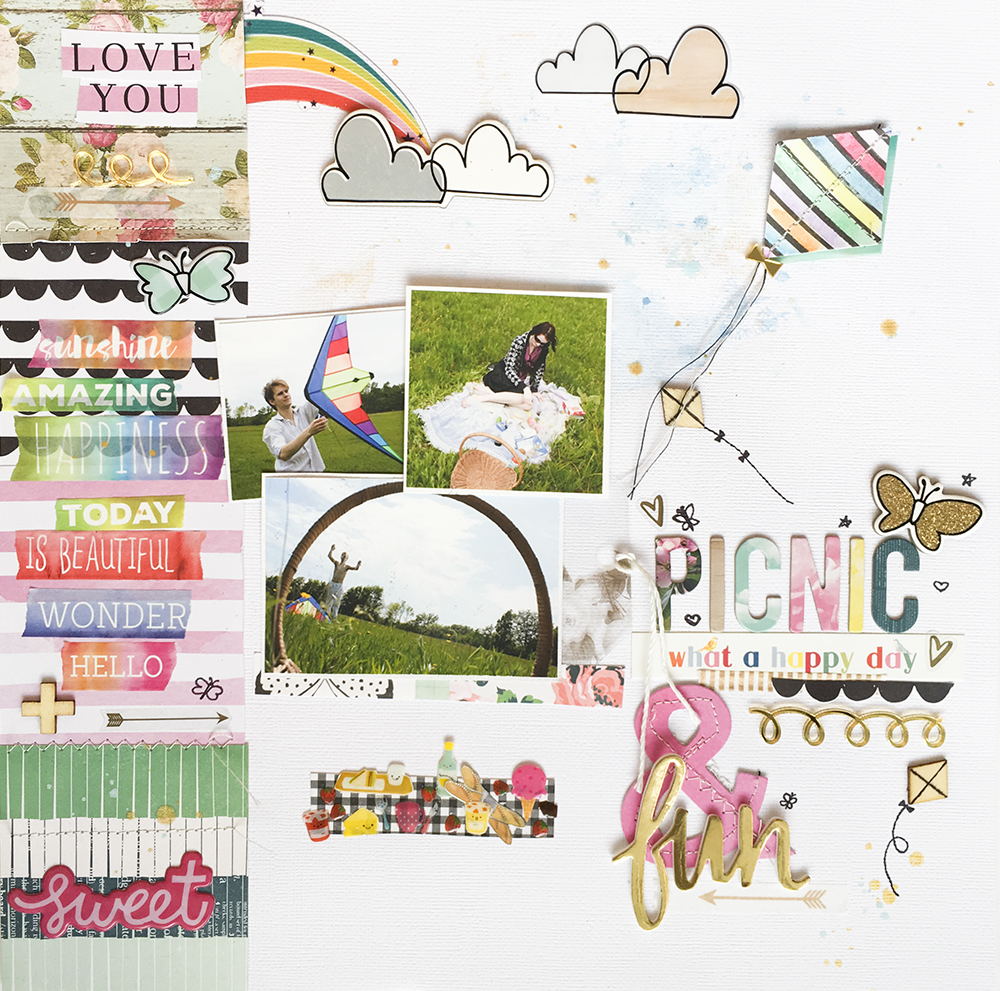
This cute rainbow kite picnic page is for the Stick It Down challenge blog design team, and we are using another sketch designed by yours truly.
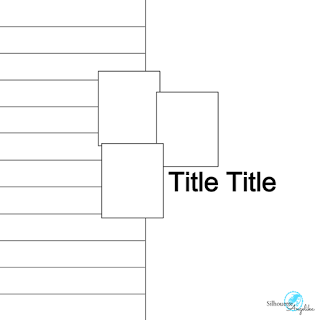
We’ve got stripes down the left side, three photos clustered in the middle, and a title underneath and right of the photos. I dithered about what photos I wanted to scrap, but I kept coming back to this set of sweet photos from back when we started dating. We went for a lovely picnic date and flew a kite together. The three photos were inspiring me and I had lots of ideas for things to do with this page.
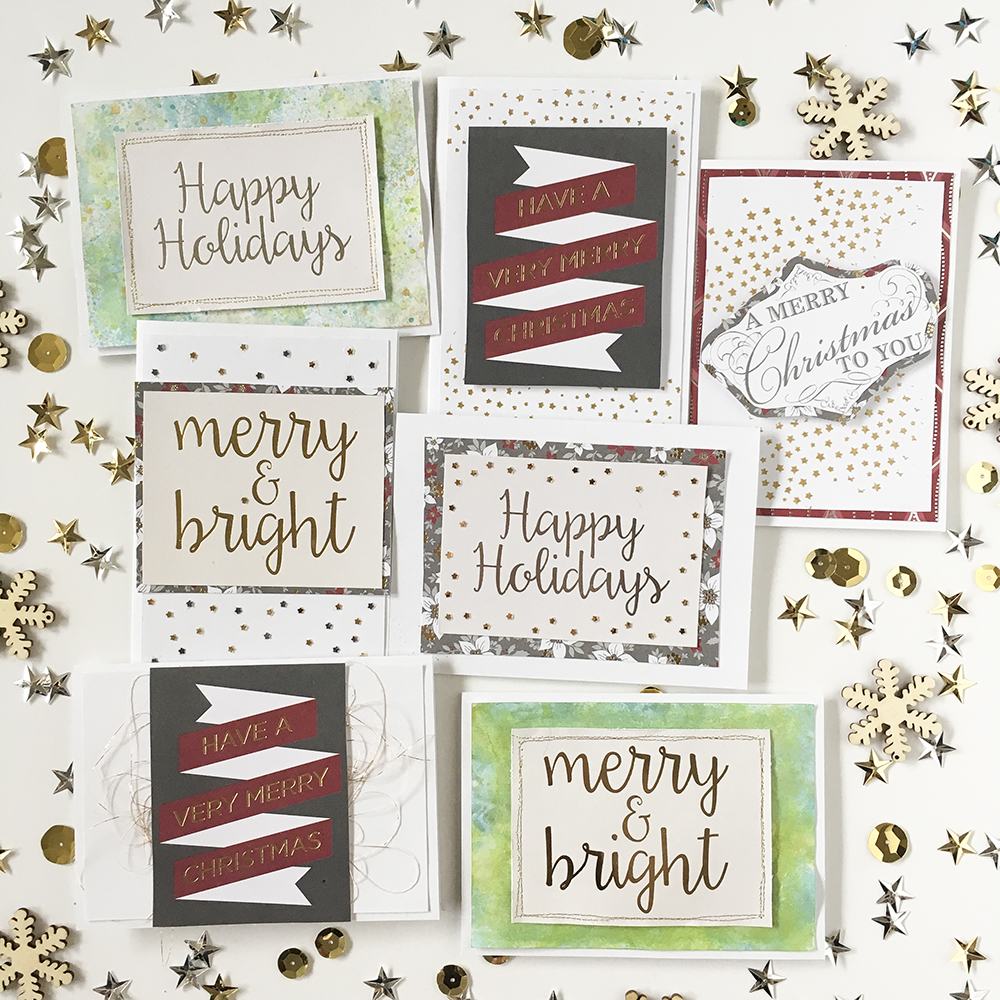
The paper pack came with a bunch of large cut apart sentiments. These are my laziest cards, however I couldn’t just simply glue the sentiment to the card without making my mark on it. Top left and bottom right I was playing around with the packaging technique and my new Heidi Shines in green, teal and gold. I thought they would make pretty backgrounds. I also stitched gold thread around the edges of the sentiment.
Top middle and right I used my tree star stencil and some Heidi Gold texture paste, but I smooshed it randomly, not in the shape of the tree.
Middle row, I glued on tiny star sequins. Finally, bottom left- I added tangled gold thread behind the sentiment.
Hope you enjoyed my card spree! Have a wonderful holiday, and a happy new year.
I will be back in January with my design team posts!
xoxo
A
Posted inCards|Taggedcards, Christmas|Comments Off on 12 Days of Xmas Cards Bonus Day
Here is something that I have done before on cards, but that turns out unique every time.
Simply use pen, marker, embossing, or a combination of media (you can also do stitching, tangled thread, hand embroidery, watercolour, paint, a cut file, whatever you can think of) to make a bunch of scribbles in a circle. You can then decorate your wreath with gems, sequins, enamel dots, and a bow.
xoxo
A
Posted inCards|Taggedcards, Christmas|Comments Off on 12 Days of Xmas Cards Day 12
So, not snowflakes, not trees, what do we have today?
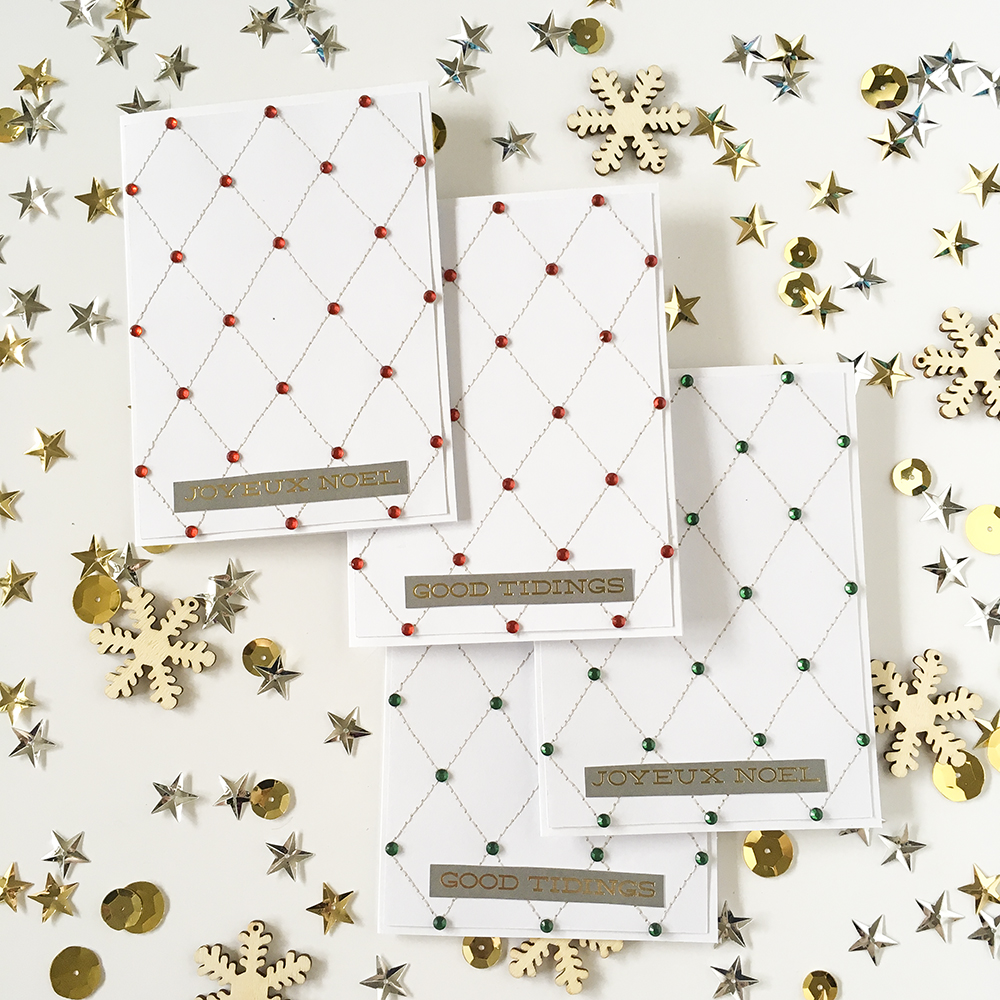
Today we have abstract harlequin pattern cards! I am in love with these and would have made a million more, but I was running out of gems in the same colour/size and the stitching was a tiny bit time consuming. After a lot of extremely technical calculus (measure the card and divide each side by three) I made a pattern that I drew on lightly in pencil, then stitched over using a light beige thread. I then glued gems on all of the corners. I love how unique and elegant it looks.
Two more days!
xoxo
A
Posted inCards|Taggedcards, Christmas|Comments Off on 12 Days of Xmas Cards Day 11
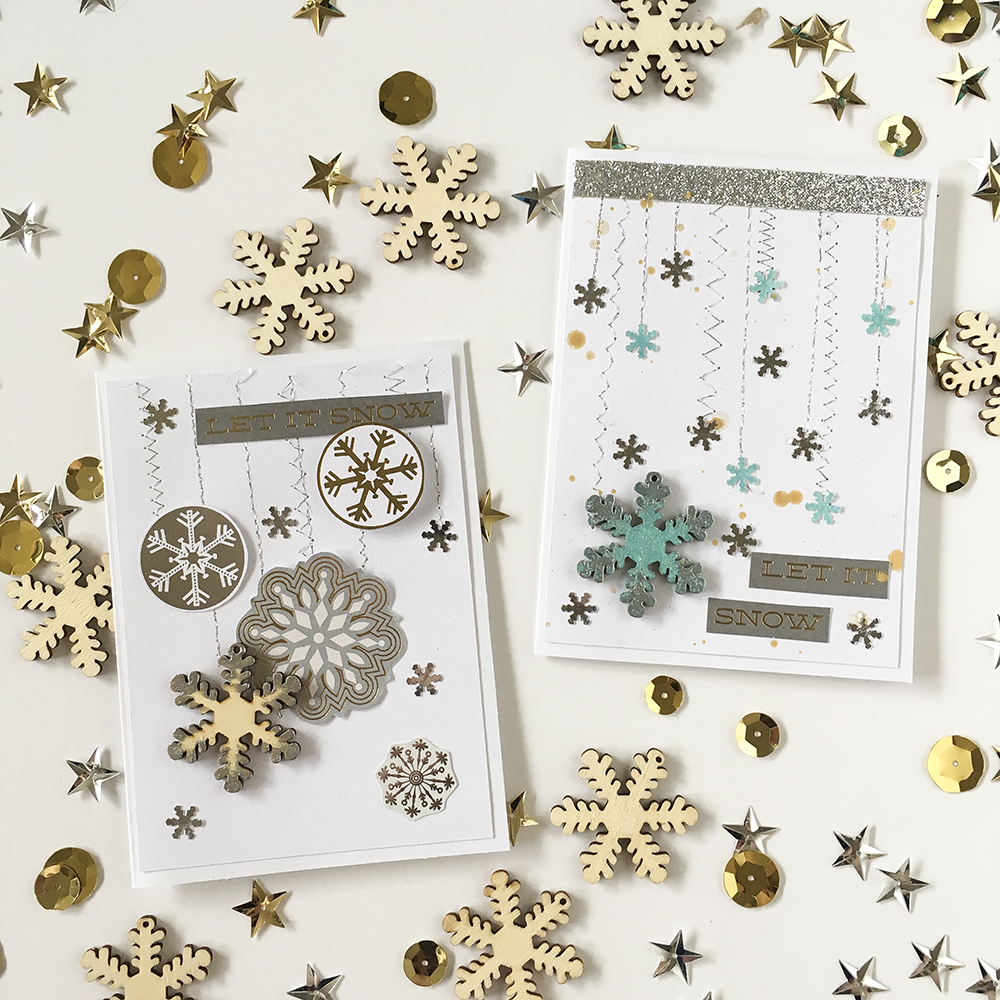
Let’s start with the left one. As you can see, its the same little wooden snowflake as I have scattered in the background. I bought a big pack of those at Michael’s. For this one, I used silver embossing power on the edges, and left the middle nude. I fussy cut some snowflakes from that paper pack I got. I also used a tiny snowflake punch on some silver paper. I used silver thread to stitch lines of varying lengths and patterns. I popped one of the fussy cut snowflakes on foam to match the dimension of the wooden snowflake. Since I had a limited amount of cut apart snowflakes, I was only able to make one card like that.
For the card on the right, I did an experiment using teal Heidi Swapp Color Shine on the wooden snowflake. It turned out very shiny, but I still wanted to emboss the edges. I also used the paper that I sprayed the color shine onto the snowflake on to punch more blue ones. I used silver glitter tape to “ground” the snow lines (cloud? sky?). I didn’t love the teal snowflake, as pretty as it was, so I also only made one of this card.
We have three more days of cards left, and they are neither snowflakes, nor trees. Come back to find out what else I made.
xoxo
A
Posted inCards|Taggedcards, Christmas|Comments Off on 12 Days of Xmas Cards Day 10
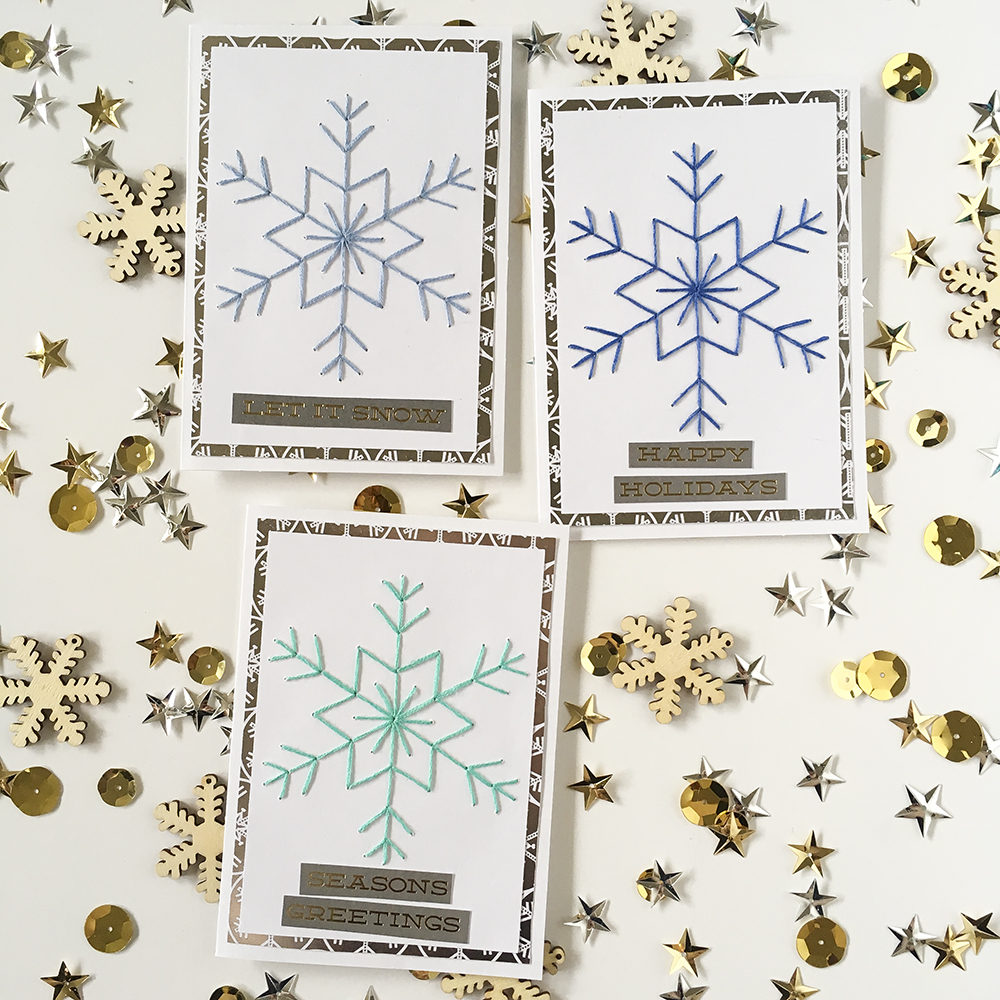
Today, no more trees. Instead we are doing my second favorite thing to do on xmas cards- snowflakes!
I am enamored with these! If they were not so time consuming I would have made a million more. To do this, I made a snowflake design in Studio to fit on my cards, and printed it out. I taped the print out to some cardstock and used a pin to make holes at all the ends and angles. I then used embroidery thread to stitch the snowflakes. Easy and simple, however if you’ve ever done hand stitching, you know how long that takes.
More snowflakes tomorrow!
xoxo
A
Posted inCards|Taggedcards, Christmas|Comments Off on 12 Days of Xmas Cards Day 9
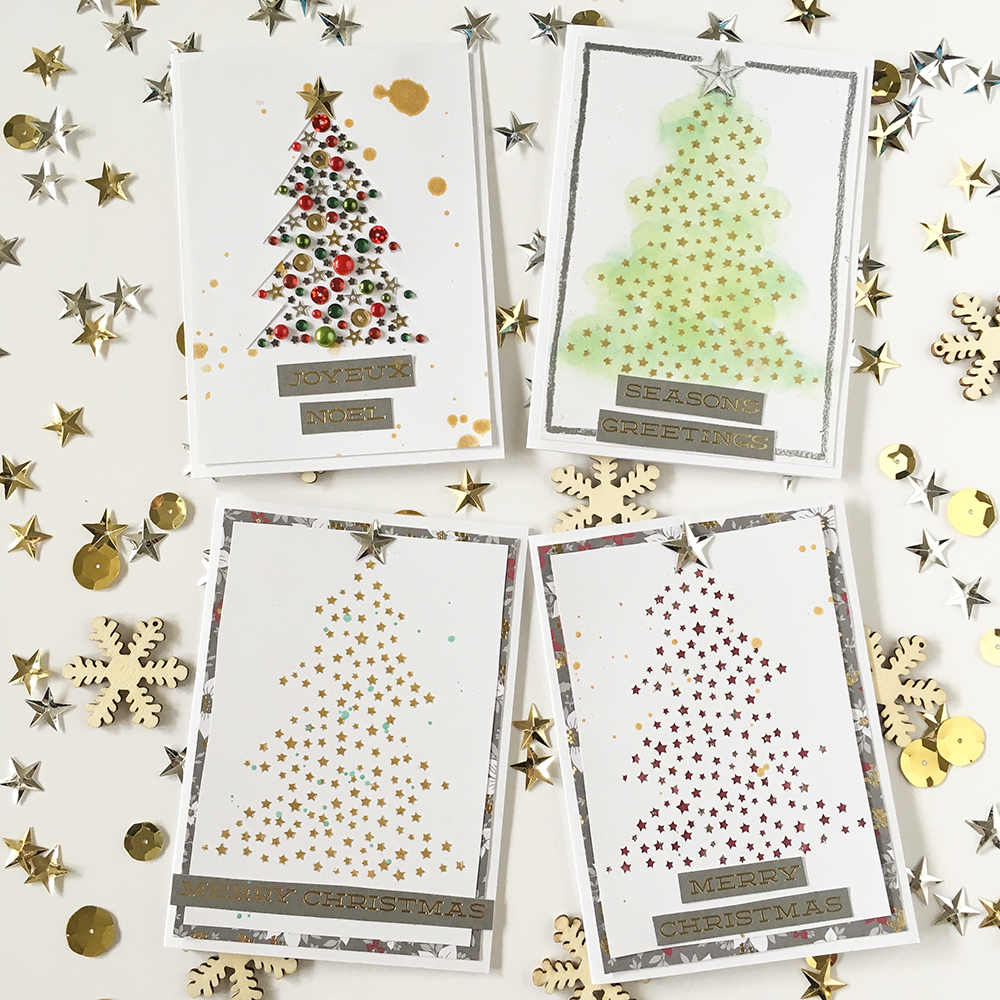
Let’s start at the bottom right- I made a cut file of tiny stars in the shape of a tree. Super cute, right? But it took forever to cut and then poke out all the little stars. I really liked the look however, and I had just bought some Heidi Swapp gold texture paste and I thought that the cut file would make a perfect stencil. So I ran an acetate page divider through my Silhouette to cut the stencil. Then I used the gold texture paste to make the trees. So much fun, and it looks amazing. The top right card I used some Heidi Swapp color shine on a makeup sponge to make the tree green, and the bottom left I just added some splatters.
The top left card- I had the idea to have a shape and fill it with embellishments. I used a leftover piece of cardstock that I had cut a tree from for something else, and I glued it to some more cardstock, and I went to town filling it with gems, sequins, and enamel dots. I liked the end result but it wasn’t my favorite so I didn’t waste energy and materials on making more of something I’m not thrilled about.
Tomorrow we get a break from trees. Tune in to find out what I’m doing instead.
xoxo
A
Posted inCards|Taggedcards, Christmas|Comments Off on 12 Days of Xmas Cards Day 8
I love these, I really like how they turned out. I took a free tree cut file from My Shiny Studio, scaled it down and cut some from rectangles of white cardstock. I then used silver embossing powder on the inside lines and around the edges. I backed the open space with green paper, added star tops, sentiments and gold splatter. The last touch was some stitching around the edges with gold thread. Super fun.
More trees coming tomorrow!
xoxo
A
Posted inCards|Taggedcards, Christmas|Comments Off on 12 Days of Xmas Cards Day 7