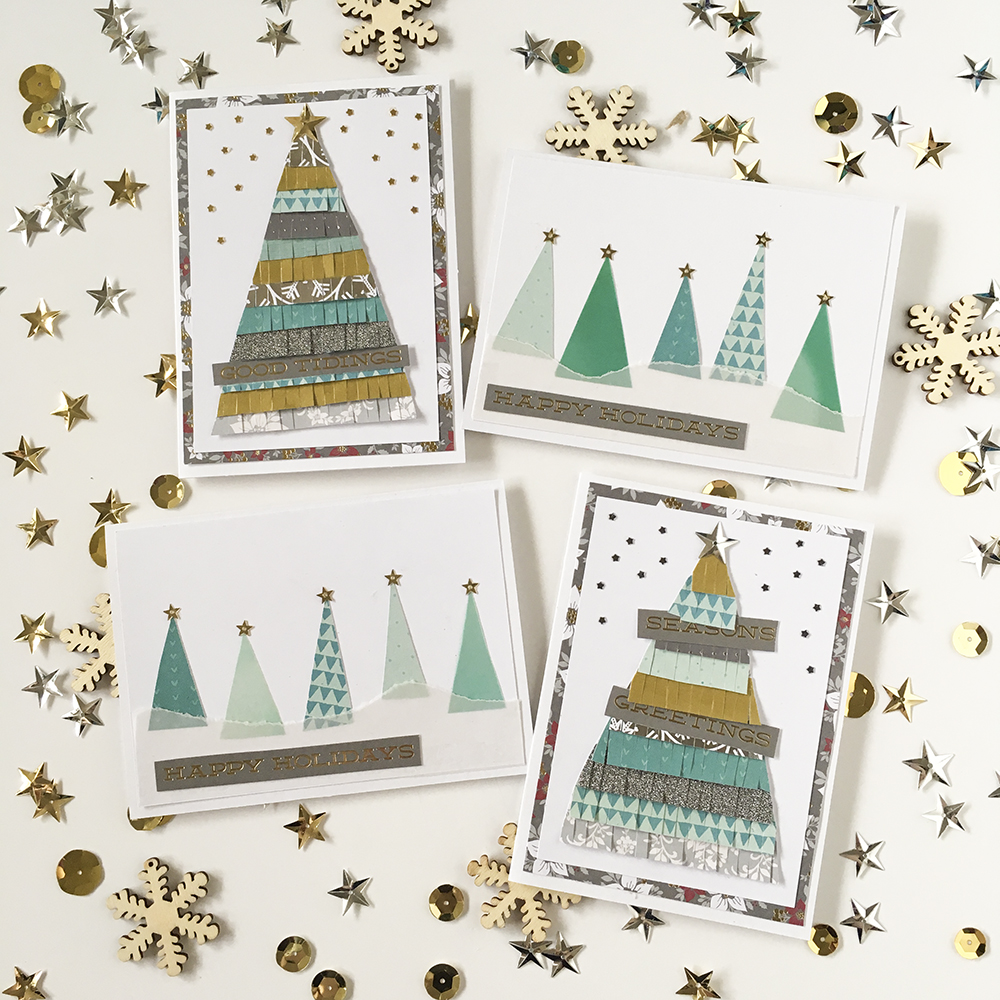
Hi! It’s day 6 of Christmas cards. We are moving away from shakers and back into trees.
I love doing trees on cards. And here is where I stray a bit from my pattern paper pack to add some green from my stash. I’m really happy to see that the fringe trend is going strong, because I love the look.
And the other cards couldn’t be easier to assemble- ripped vellum for snow, hand cut triangle for trees, stars glued on tops and a sentiment.
Join me again tomorrow!
xoxo
A
Posted inCards|Taggedcards, Christmas|Comments Off on 12 Days of Xmas Cards Day 6
Last post I mentioned being inspired by my shaker cards to make more shaker card.
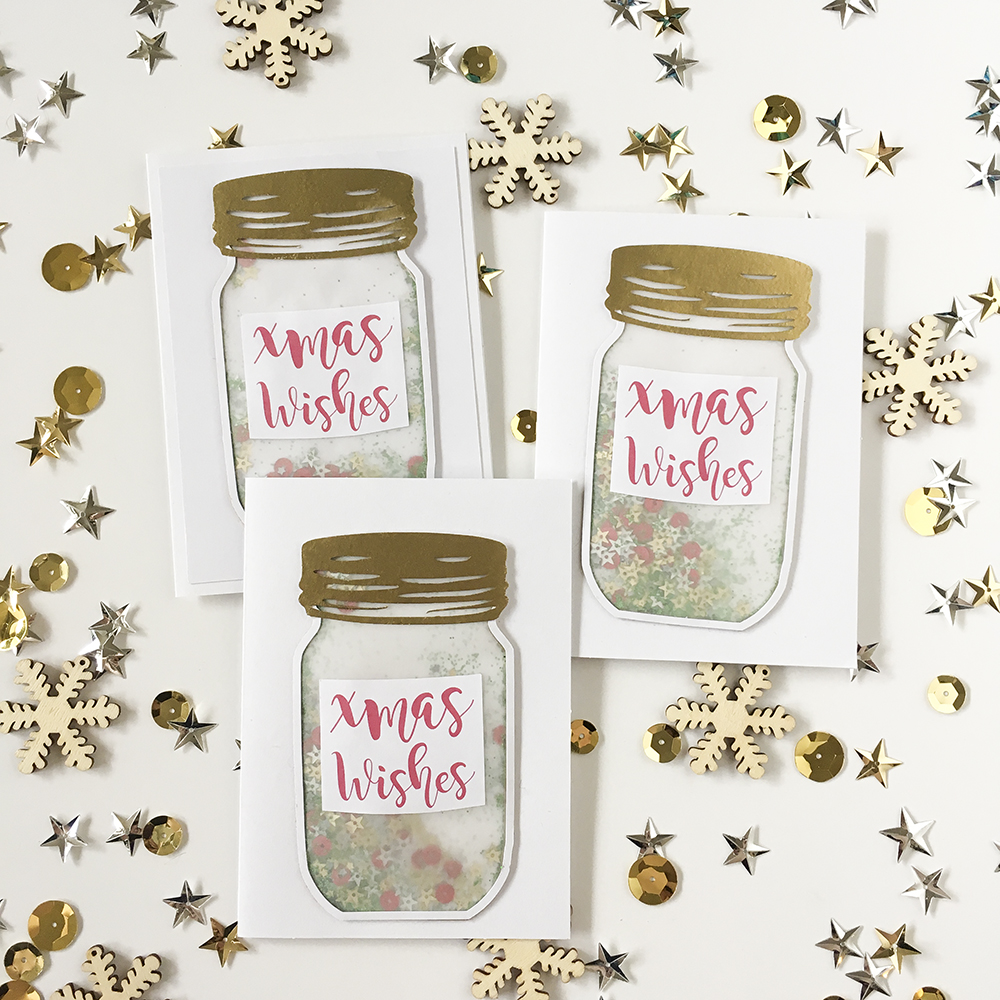
I LOVE LOVE LOVE how these turned out. However I only made 4 because I was low on vellum and the cutting/assembly was kinda time consuming. The one missing from the picture I had made into a get well card. I posted that on instagram a little while back. Instead of xmas wishes I wrote Rx Get Well Soon. And I didn’t use xmas colours of sequins/glitter inside.
To make this, I found a mason jar cut file for free at Get Silvered, and I cut several layers. I cut an outline in white cardstock, an outline in chipboard, and a lid for every card. I also cut the whole shape in vellum. Lastly I created my own print and cut file for the label that was basically a rectangle that fit inside the jar with a slight down curve on the top and bottom, with the sentiment. I gold embossed the lids, and assembled the jars- chipboard/vellum/cardstock/lid/label. I flipped the jar over, filled it with glitter and sequins, applied liquid glue all around the edge, and then lowered the card onto it.
Shaker cards are so much fun. I definitely didn’t spend too much time playing with the ones I made.
xoxo
A
Posted inCards|Taggedcards, Christmas|Comments Off on 12 Days of Xmas Cards Day 5
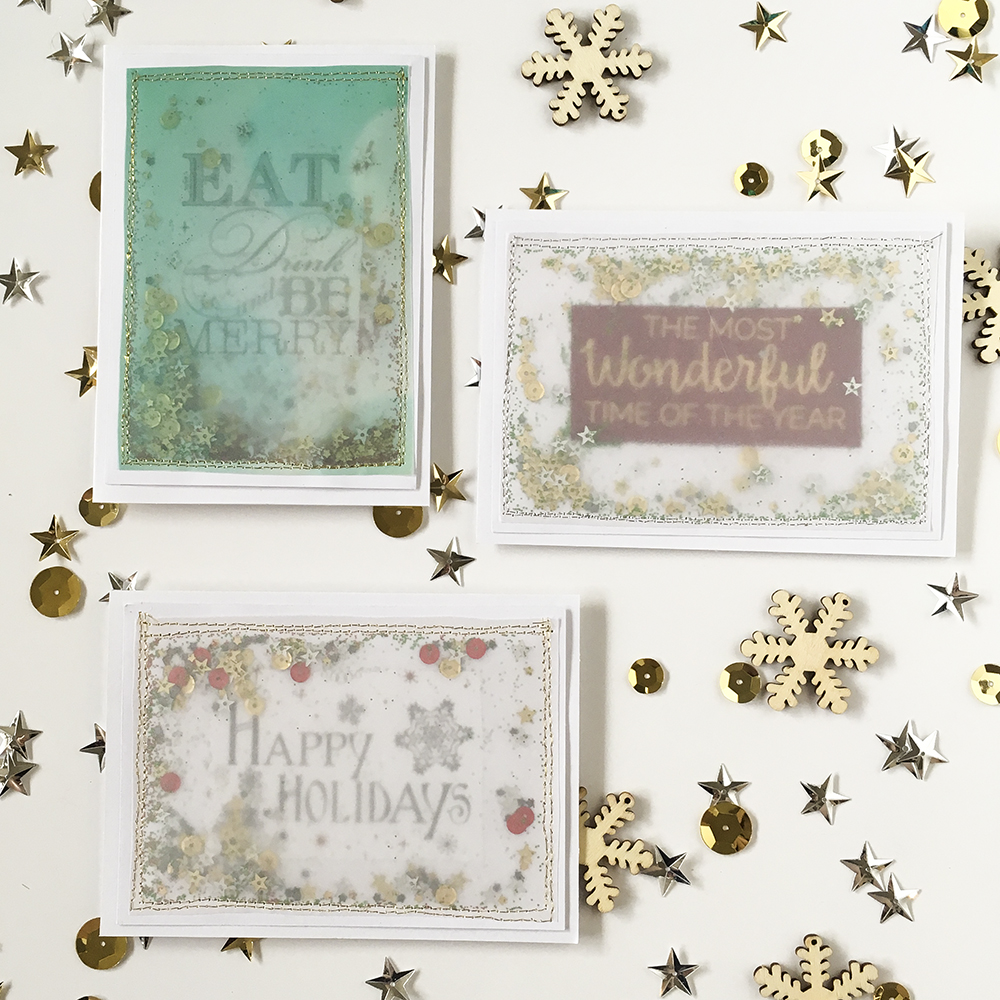
I had a friend over for cards making one day and she loves glitter. So of course my entire apartment was covered in glitter by the time we were done, including the toilet. And the cat. I decided to show her how to responsibly glitter a card without making the recipient hate you for receiving a glitter bomb.
These are super quick, easy and really neat. I love shaker cards. Just glue a sentiment to your paper, cut a piece of vellum to cover it, sew around 3 sides. Then fill it with a variety of sequins and glitter. Sew up the top and you’re done! And the recipient of your card gets to enjoy playing with the glittery card without fear of glittering everything. I would have made more but I ran out of vellum. These cards also inspired an idea for another set of cards, come back tomorrow to see them.
xoxo
A
Posted inCards|Taggedcards, Christmas|Comments Off on 12 Days of Xmas Cards Day 4
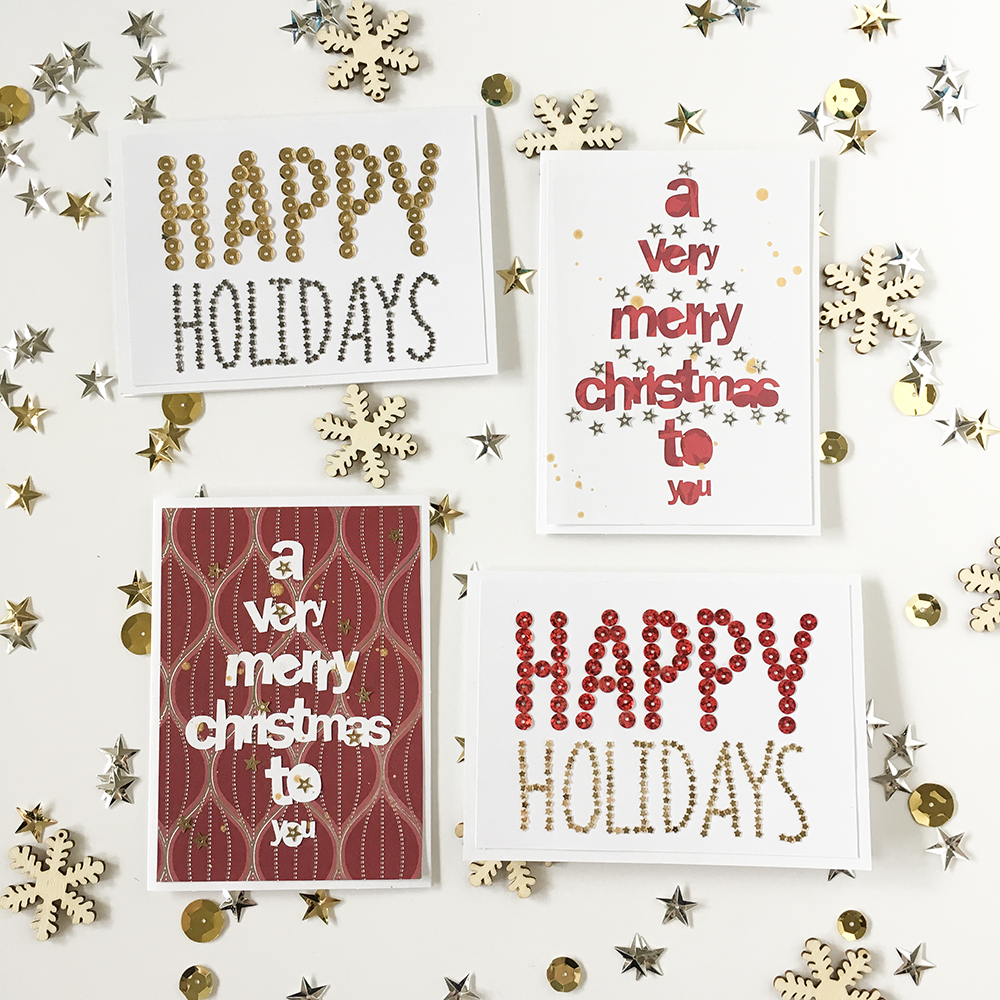
Welcome to day 3 of cards. Sooo many cards!! Two different styles of cards today.
The HAPPY holidays one- I LOVE them, I love the design. But they are SO much work with those itty bitty stars. I traced out the words in pencil and drew over them in glue and places the sequins one at a time. Super simple but time consuming. And when you have 50 cards to make, you’re not going to fuss over a design that takes forever.
The other two- I created this cut file inspired by one from the Cut Shoppe. I cut it out and realized how easy it was to lose those tiny little word insides from the way I joined them (eg- between the S and the t in Christmas). And of course I love no waste cards so I used the negative for one card and backed it with pattern paper and the other one I just glued the words to the pattern paper. A few stars and gold splatter to decorate completed the cards. But I didn’t make more than 2 because of how easy it would be to lose the little pieces unless I went really slow, and really who has time for that?
Join me tomorrow for even more cards.
xoxo
A
Posted inCards|Taggedcards, Christmas|Comments Off on 12 Days of Xmas Cards Day 3
These guys were pretty simple and quick- ribbon or twine for the trunk and washi tape and sentiments for the branches. Then some star sequins for decorations and gold splatter. Super quick, easy and cute. The one with all the sentiments, they are popped up on little foam dots. The longest part was glueing all those tiny stars, but I streamlined my process by just making a bunch of dots of glue where I wanted stars and used a pin to pick up and place them in the glue.
Join me tomorrow for day 3 and more cards!
xoxo
A
Posted inCards|Taggedcards, Christmas|Comments Off on 12 Days of Xmas Cards Day 2
Tis the season for making cards! I love making handmade Christmas cards to send out every year. And every year my card list keeps getting longer and longer. I made 50 cards this year! So instead of one giant blog post I thought I’d split them up and post a set every day until Christmas. Though I think I’m starting a bit late and I somehow ended up with 13 photos instead of 12…
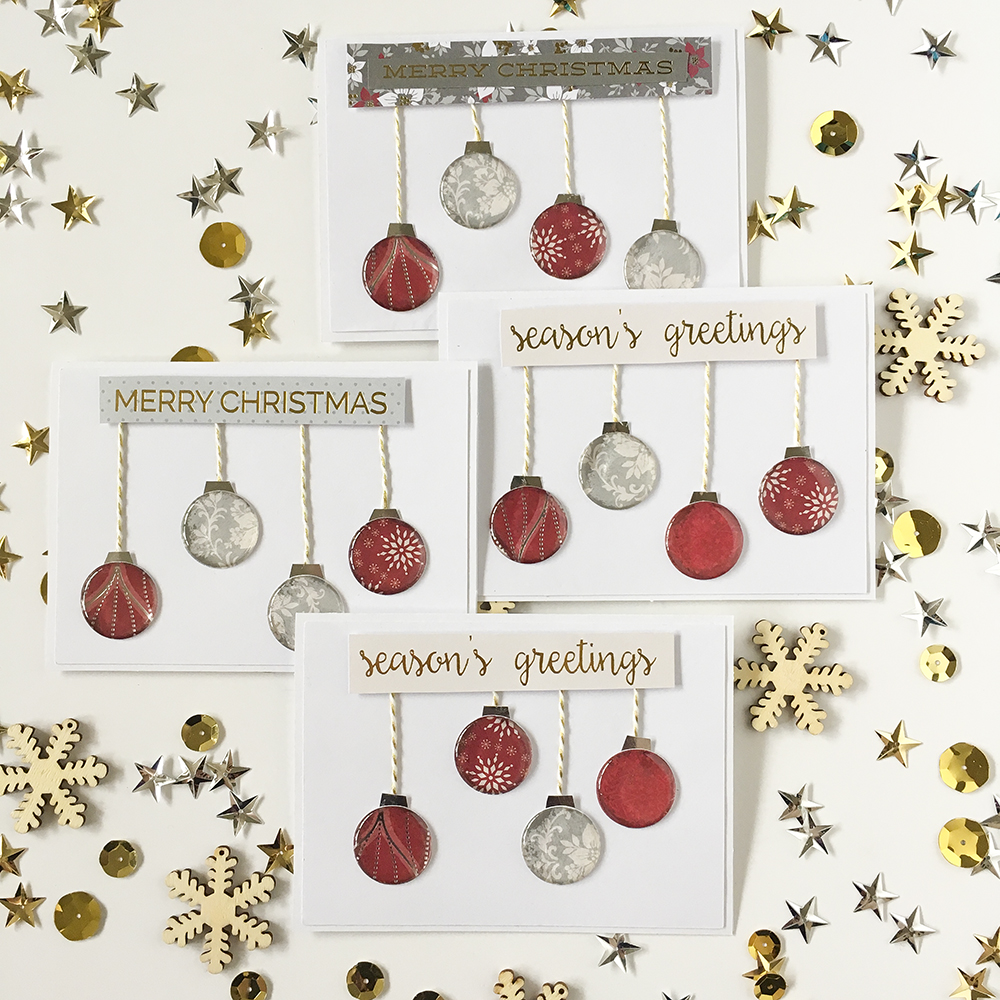
So let’s begin! Here is a set of dangly ornament cards.
This year I bought a pack of grey/crandberry/silver/gold patterned paper from Michael’s, and I ended up using pretty much the whole pack. It came with a sheet of dark grey paper with a ton of various gold sentiments on it that I cut apart. There was also a cut apart sheet with bigger greetings.
I had a sheet of clear bubble stickers that I stuck onto circles of pattern paper from the pack cut on my Silhouette. I popped the greeting up on foam and glued white and gold string between the bauble and the “mantle” they were hanging from. Lastly I hand cut tiny little silver tops. I really like how they turned out. The design was inspired by the card challenge over at the StickItDown blog.
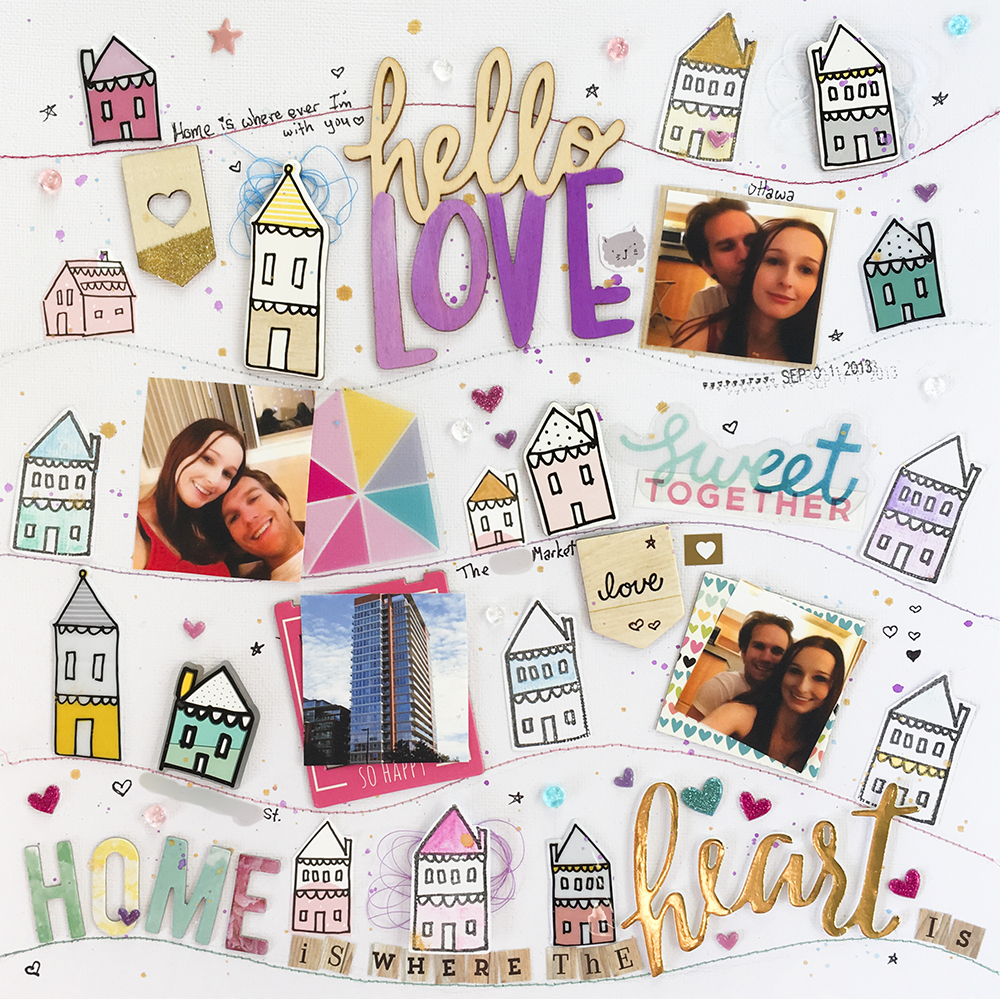
Hey! This month’s layout for the ARTastic challenge blog is my month to the the 3T’s-Tips, techniques and tutorials. This month was also a learning experience for me, because I decided for my post, I was going to do my very first ever process video! Hop on over to ARTastic to read more and watch the video!
xoxo
A
Posted inLayouts, Tutorial|Comments Off on Home is where the Heart is ARTastic DT Scrapbook Layout
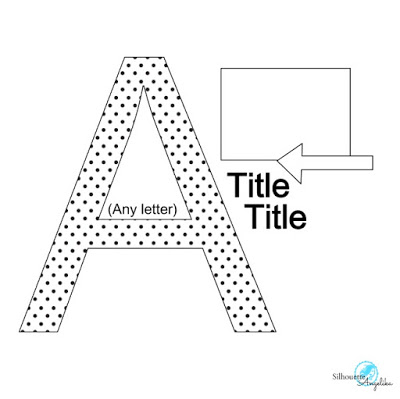
Hi, I’m up on the StickItDown sketch challenge blog today! And I also designed the single page sketch for the month!! Here it is:
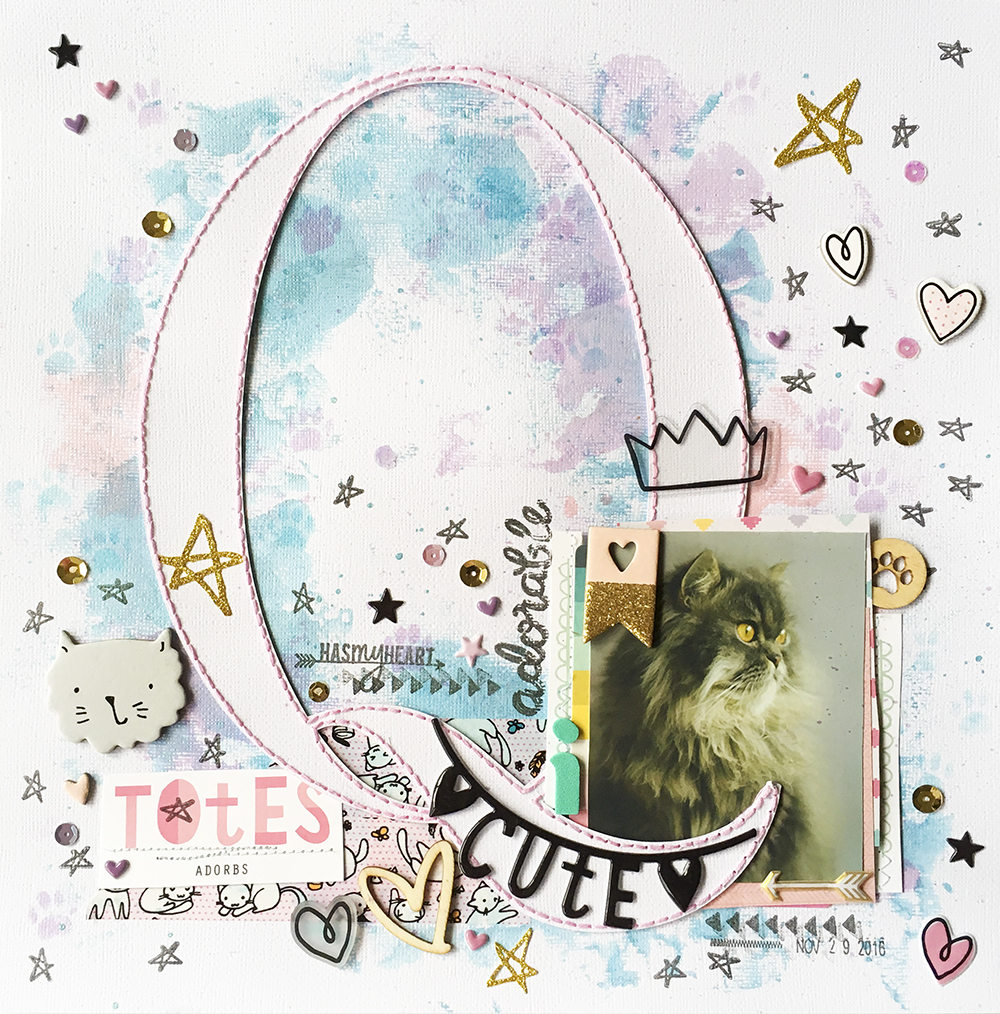
So obviously I had to shift things around a bit to make everything fit with the letter that I chose- Q for Qi. That was just the best place for the photo- nestled in the little swoop. I challenged myself with two things for this layout- do some embroidery stitching and use stamps. I have so many stamps and I so rarely use them.
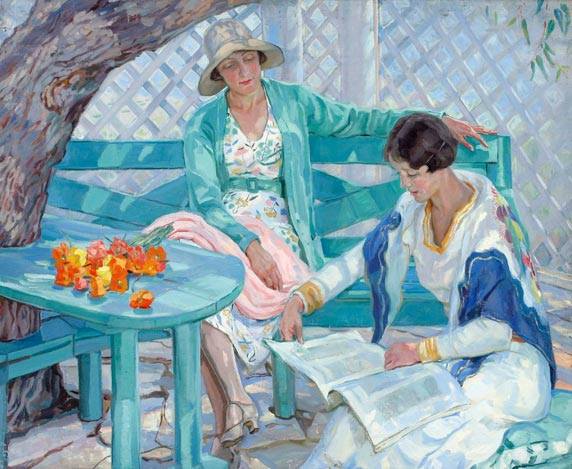
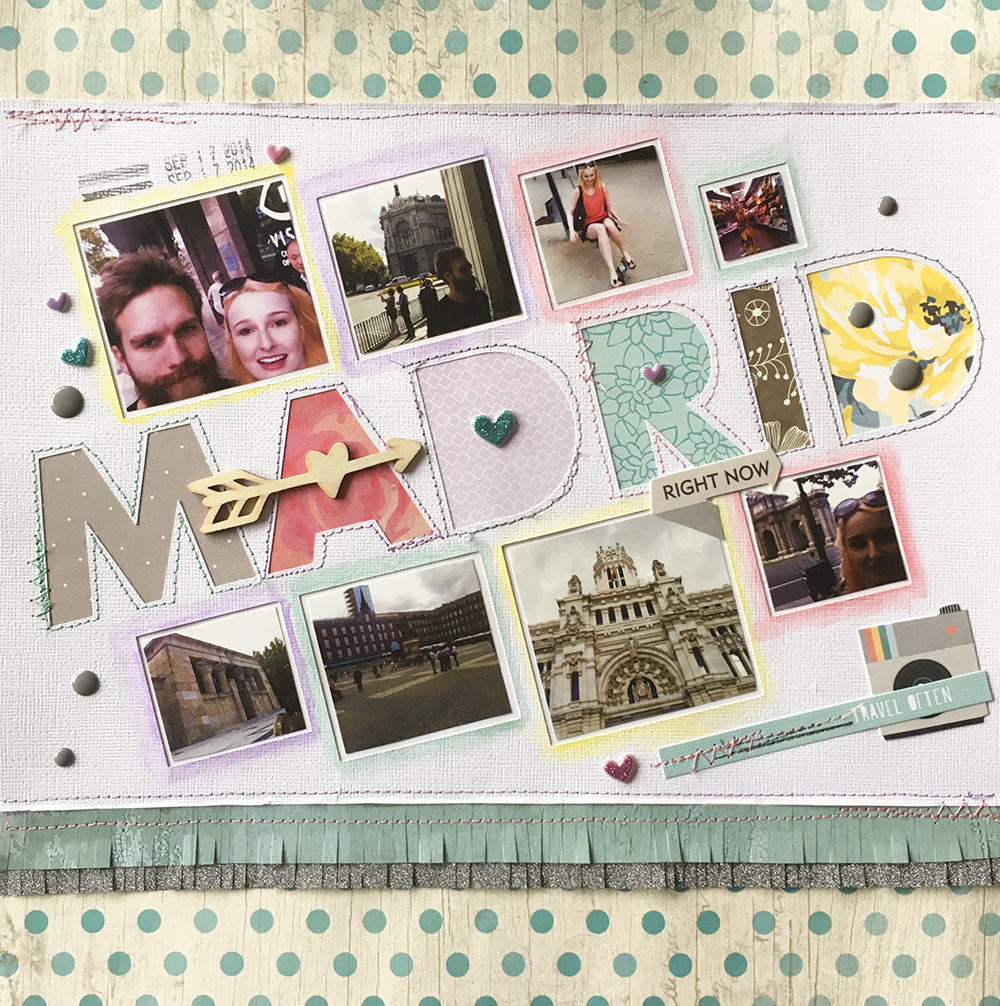
I love this photo of me and my husband. It’s timeless- there is nothing to indicate what decade this is from. So when I saw that the challenge for this month at ARTastic was vintage style, I immediately though of this photo. I also knew this was going to be a huge challenge for me as vintage is completely out of my comfort zone. The inspiration painting is The Summer House by Hilda-Rix Nicholas.
I also instantly though of this gorgeous vintage style paper than my friend Chantal gave me for my birthday last year. The pattern of stuff around the edges and the negative space in the middle really inspired my design for the layout.
I have some exciting news- I’ve made a couple of sketches and we are using one this month over at Stick it Down challenge blog! I’m super stoked that my sketch is being used and I’m very excited to see what everyone comes up with! Here’s the sketch:
As you can see I followed my own sketch pretty closely. I actually had this layout in mind when I made the sketch. And I’m really pleased with how this turned out.